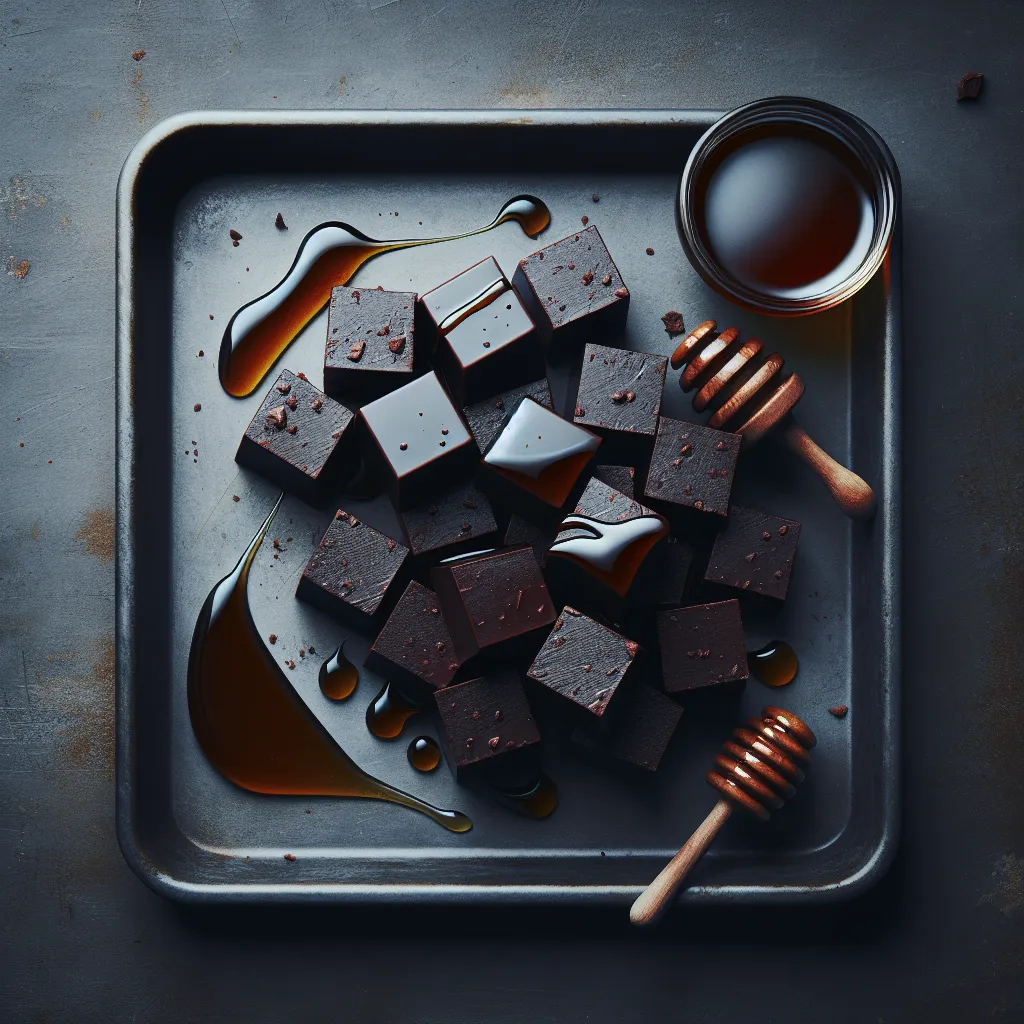
Quick & Easy Guilt-Free Fudge: No Oven Required!
Hey there, fellow food enthusiasts! Are you craving something sweet but don't want to spend hours in the kitchen? Do you also want to ensure you are still eating healthy nutritious food? Then I have the perfect recipe for you - a no-cook fudge that's not only incredibly easy to make but also uses wholesome ingredients. Yes, you read that right—no baking required!
This recipe is a lifesaver for those days when you need a quick treat or a healthy snack. It's also fantastic for involving the kids or when you're simply short on time. Plus, there’s a good chance you already have most of these ingredients in your pantry. How cool is that?
Why You'll Love This No-Cook Fudge
- Super Easy: Just mix everything in a bowl, pour, and chill. It's that simple!
- Quick to Make: Forget complicated steps and long baking times. This fudge comes together in minutes.
- Nutritious Ingredients: Using natural ingredients like coconut oil, peanut butter, cocoa powder, and honey, this fudge offers a healthier twist on traditional recipes.
- Customizable: Feel free to add your favorite mix-ins like nuts, seeds, or dried fruit.
- Perfect for Any Occasion: Whether it's a quick snack or a special occasion, this fudge is always a hit.
Ingredients You'll Need
- 1 cup coconut oil
- 1 cup peanut butter
- 1/2 cup cocoa powder
- 3/4 cup honey
- 1 tablespoon vanilla extract
Instructions
- Prep: Line a 2-quart baking dish with wax paper to prevent sticking. You don't want to be scraping at the bottom of the pan.
- Mix: In a large bowl, whisk together the coconut oil, peanut butter, cocoa powder, honey, and vanilla extract until everything is smooth and well combined. The mixture will be quite thick and that is perfect.
- Pour: Pour the fudge mixture into the lined baking dish, spreading it evenly.
- Chill: Cover the dish and place it in the refrigerator. Let it chill for at least 3 hours, or until completely solid. The longer you chill it, the better it sets!
- Cut and Serve: Remove the fudge from the refrigerator, lift it out of the dish using the wax paper, and cut it into squares. I find a warm sharp knife helps this process.
- Store: Keep your fudge in the refrigerator. It can become sticky if left at room temperature for too long.
Tips and Tricks
- Customize: Get creative with your mix-ins! Add chopped nuts, dried cranberries, or even a pinch of sea salt.
- Cocoa: Adjust the amount of cocoa powder to your preference – for a richer, darker fudge add a bit more.
- Sweetness: If you prefer a sweeter fudge, add a little more honey. Remember to taste as you go and get it just right for you.
- Peanut Butter: If you don't have peanut butter feel free to try other nut butters such as almond or cashew butter.
Ready to Plan Your Next Healthy Meal?
Now that you've got this delicious fudge recipe under your belt, why not explore more healthy meal ideas and plan your weekly menu? The Menuistia app is perfect for helping you create custom recipes and plan nutritious meals. It’s an easy and fun way to stay on top of your health and enjoy every meal. Check it out today and take the stress out of menu planning!
Enjoy your guilt-free fudge, and happy cooking! Let us know how you get on, and don't forget to share your culinary masterpieces on social media.