Nutty Nirvana: The Easiest Homemade Vegan Nut Butter Guide
Hey there, fellow food adventurers! Are you ready to ditch the mystery ingredients and sky-high prices of store-bought nut butters? I was, and let me tell you, the journey to homemade, creamy, nutty perfection is way easier (and more rewarding) than you might think!
When I first discovered that I could whip up a jar of my own vegan nut butter at home with minimal effort, my mind was blown. Seriously, it felt like discovering a hidden superpower! Those long ingredient lists on commercial jars always made me think it was some complicated industrial process. Turns out, it's as simple as nuts, an oven (optional but recommended), and a food processor. Yes, you read that right – you don't even need a fancy, super-powered machine!
I tested this out when I visited my mum for Christmas, I unearthed her ancient food processor (a relic from the 70's!). I had doubts, I confess, but in mere minutes, that old-timer was churning out the silkiest almond butter I've ever had. If that vintage gadget can do it, I'm convinced any food processor can!
So, why should you jump on the homemade nut butter bandwagon? Well, for starters, it's incredibly delicious, unbelievably easy and you have total control over the ingredients. Plus, it's a super budget-friendly way to get your nutty fix, and it’s so much healthier too. Ready to get started? Let's do it!
What You'll Need:
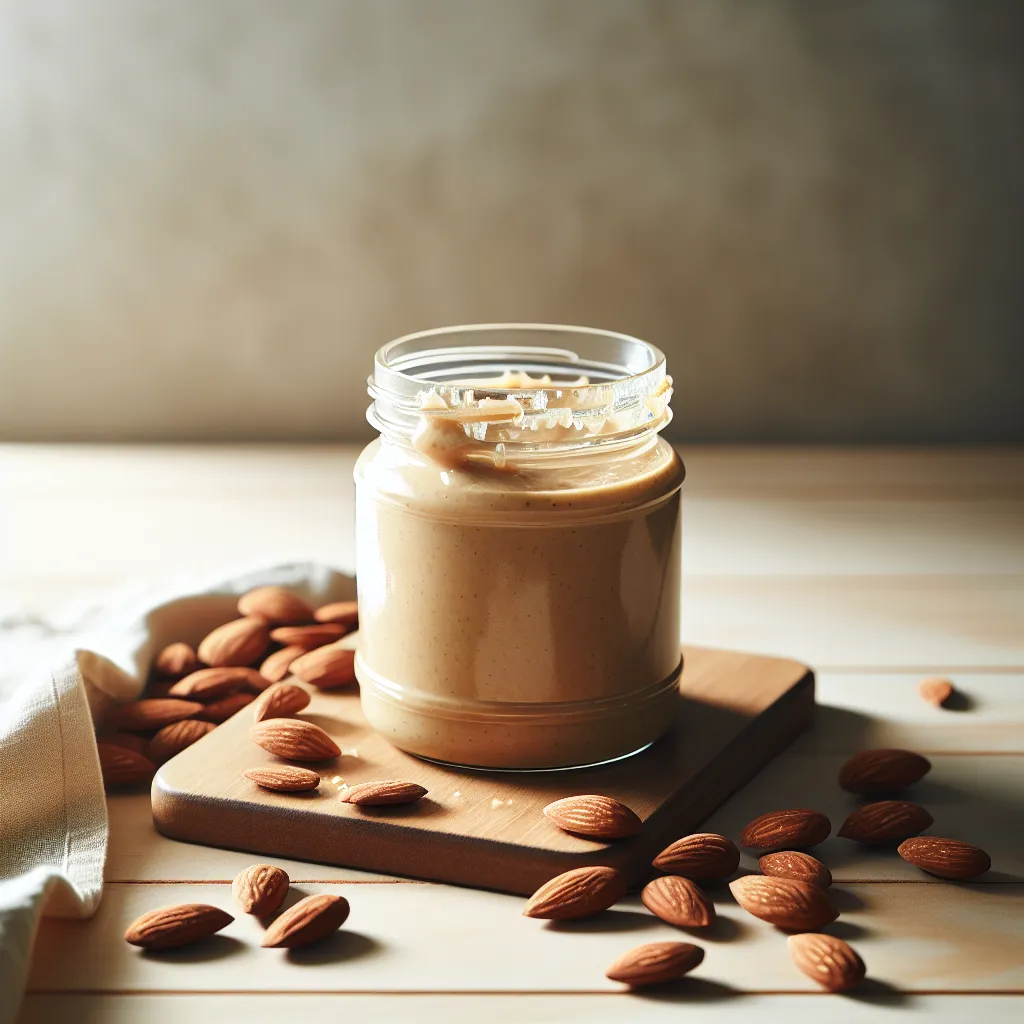
- 2 cups of your favorite nuts (almonds, cashews, peanuts, hazelnuts – go wild!)
- A pinch or two of sea salt (optional, but enhances the flavor)
- A drizzle of maple syrup or other sweetener (optional, if you like a touch of sweetness)
Let's Get Nutty!
- Roast it Up (Optional but Recommended): Preheat your oven to 180°C (350°F). Spread your chosen nuts on a baking tray. Roast for 6-10 minutes, keeping an eye on them and stirring every couple of minutes. We're going for golden, not burnt (bitter nuts are sad nuts!).
- Peel if You Please (Also Optional): Some nuts, like hazelnuts or peanuts, may benefit from a quick rubdown in a tea towel to remove their skins after roasting (don't worry about getting them all off). For others like almonds the skins are super nutritious, so there's no need to peel.
- Process to Perfection: Once your nuts are cooled, toss them into your food processor. Now comes the magic! Process until you get a smooth, creamy, honey-like texture. Be patient, it might seem like it will never happen but it will. Your nuts will go through different stages during this process: first they will look like nut meal, then they will become a big clump, then a ball of nut paste, and finally you will see the glorious nut butter starting to form. If your food processor is not super powerful, give it some breaks in-between processing.
- Taste and Tweak: Once the nut butter is nice and smooth, have a taste and decide whether you would like to add any salt or sweetener, and pulse a couple more times to combine the new additions well.
Tips for Nut Butter Success
- Variety is the Spice of Life: Don't be afraid to mix different types of nuts to create your own custom blend! Cashews add a lovely creaminess, while almonds bring a more intense flavor, and peanuts that oh-so-familiar nutty tang.
- Patience is Key: Making nut butter can take a bit of time, don't rush it and stop your food processor if it looks like it's struggling. Giving the machine a rest every now and then does not affect the end result.
- Storage: Store your homemade nut butter in a sealed jar or container in the fridge. It should keep for a few weeks, if you don't gobble it up before that.
Ready to get your nut butter on? It's a fun, easy, and rewarding experience. Once you try it, you'll be hooked, I promise! And hey, if you do give it a go, don't forget to tag me on social media – I love seeing your creations. Happy buttering!