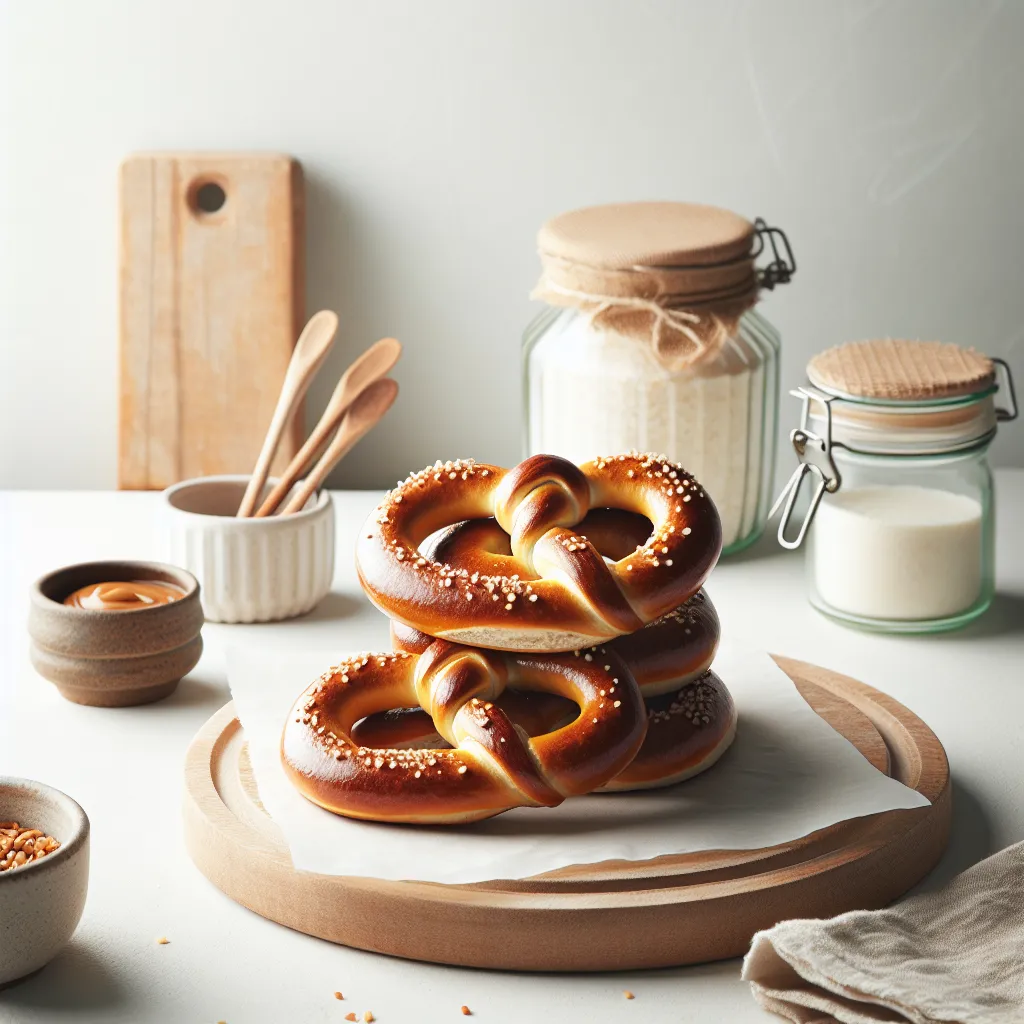
Hey fellow food adventurers! Are you ready to take your burger game to the next level? I'm absolutely buzzing to share my ultimate recipe for vegan pretzel burger buns. These aren't just any old buns, folks. We're talking about crispy exteriors, soft, chewy insides, and those magical little salt crystals that burst in your mouth with every bite.
Now, I know what you might be thinking: 'Pretzel buns? Vegan? That sounds complicated!' But trust me, with a few simple tricks, you'll be churning out these beauties like a pro in no time. I've spent some serious time in the kitchen perfecting these, and I'm excited to share all my insider tips with you.
The Magic of the Dough
Our journey begins with the dough. We're not just throwing flour and water together here; we're crafting something special! You can use a mix of all-purpose and bread flour for the best texture, or if you just have one or the other they will work too!. Mix it up with some yeast, salt, melted vegan butter (or coconut oil for a lighter option), and lukewarm water and mix until a scraggly dough forms.
Don't be shy - get your hands in there! Turn it out onto a work surface and knead that dough with some gusto. Think of it as a mini workout for your arms! Stretch, fold, and repeat. Keep rotating the dough as you go. You'll want to keep going for about 10 minutes until it transforms from a scraggly mess into an elastic, smooth ball of dough. This step is key, so put on some music and get into it!
After the kneading fun, pop the dough into a clean, lightly oiled bowl, cover it with a damp tea towel, and let it chill out in a warm place until it doubles in size. Patience is a virtue here, folks. This can take 60-90 minutes, depending on the warmth. A warm place is good, or a very low oven works well too. I find it helpful to take a before photo so you know when it's just right.
Shaping the Buns
Once the dough has doubled in size, punch out the air! It's so satisfying. Divide the dough into 8-10 portions, depending on how large you like your buns to be. Shape each portion into a little ball, and place them on the work surface, seam down. Then, using a cupped hand, roll the dough against the surface until the top feels taut and smooth, you will end up with a perfect round
Now, for a little tip: instead of putting them on one big piece of baking paper, use individual squares. This makes the next step much easier.
The Baking Soda Bath
Before the baking soda bath, make sure that you have greased the baking paper with a little oil, even if it's non-stick as the buns have a tendency to stick after the second proofing. Now for the final pro tip. Gently lift each bun with its paper square, carefully flip it into the palm of your non-dominant hand, and peel off the paper. Then, go around the edge of the bun and gently pinch the surface, creating a tight seal in the center. This helps keep the buns taut during the next stage.
Now, bring water and baking soda mixture to a simmer – gentle bubbles are what we're looking for. Gently lower the buns into the water, simmering for about 60 seconds on each side. They might get a little wrinkly, and this is totally normal! Be gentle with them to keep them round. After 2 minutes, take them out and let them cool on a drying rack.
The Final Flourish
Once the buns are cool and dry, score them with a sharp knife or razor and sprinkle with flaky salt (or another topping). Then, bake them in a preheated oven (225°C / 425°F) for 17-19 minutes. When they are golden brown, take them out and let them cool a little and then you can enjoy them. These are best on the day, so eat them up!
Recipe Notes
- Flour: A mix of all-purpose and bread flour works best, but you can use either. Just be aware you may need to adjust the liquid a touch.
- Yeast: Make sure you use the right yeast. I used instant yeast, but if you have dried active yeast, make sure you activate it first.
There you have it! These vegan pretzel buns are crispy on the outside, chewy on the inside, and absolutely bursting with flavor. They’re the perfect base for any vegan burger creation and will definitely impress. If you make these, please be sure to tag me on my socials - I love seeing your takes on my recipes. Happy baking!
