Ultimate S'mores Dream Bars: A No-Campfire Delight
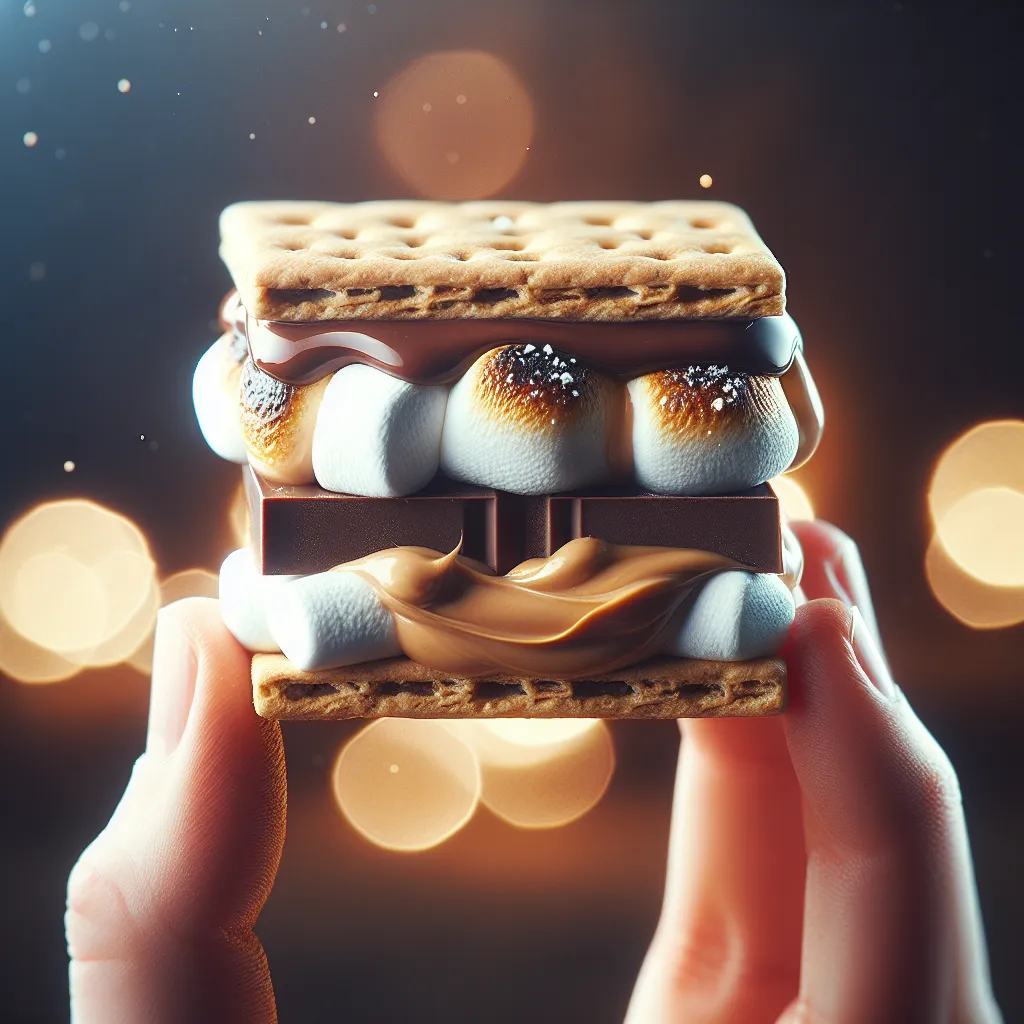
Forget the sticky fingers and the campfire chaos! These s'mores bars are a game-changer, bringing all the classic flavors you love into an easy-to-make, crowd-pleasing dessert bar. Imagine layers of rich, melty chocolate, creamy peanut butter, and gooey marshmallow all nestled between two layers of perfectly baked graham cracker crust. Intrigued? I thought so!
We're talking about pure, unadulterated s'mores bliss, but in a form that's perfect for parties, potlucks, or just a cozy night in. Get ready to fall head over heels for this no-campfire-required treat.
Why These S'mores Bars Are a Must-Try
- Easy Peasy: No open flames, no roasting sticks, just simple baking magic.
- Flavor Explosion: The combination of chocolate, peanut butter, and marshmallow is a match made in dessert heaven.
- Crowd-Pleaser: Perfect for sharing (or not—we won't judge!).
- Versatile: Great for summer gatherings, road trips, or a special treat any time of year.
What You'll Need
For the base, you'll be making a simple graham cracker cookie dough. Then, we're layering all your favorite s'mores ingredients. Here's the lineup:
For the Cookie Layer:
- Butter
- White & Brown sugars
- Egg
- Vanilla
- Baking powder, flour, salt
- Graham crackers, crushed into crumbs
For the S'mores Magic:
- Peanut butter (creamy or crunchy, your choice!)
- Chocolate bars
- Marshmallow creme
Let's Get Baking (Without the Campfire!)
- Prep: Preheat your oven to 350 degrees and line an 8x8 baking dish with parchment paper (this makes the bars easier to lift out later).
- Make the Cookie Dough: Combine the butter and sugars, then mix in the egg and vanilla. Stir in the dry ingredients and graham cracker crumbs. This dough is going to be delicious!
- Layer the Base: Press half of the dough into the bottom of the prepared pan. Lift out the parchment with the dough and set it aside – this will be your top layer. Press the remaining dough into the baking dish.
- Assemble: Now for the fun part. Layer the chocolate bars over the bottom crust, followed by a layer of peanut butter, and finally the marshmallow creme. Gently place the prepared top cookie layer onto the marshmallow and remove the parchment.
- Bake: Bake for 30 minutes or until golden brown on top.
- Cool: Let the bars cool completely before slicing. If you want those clean edges, chill them in the fridge for a few hours.
Tips for S'mores Bar Success
- Gooey vs. Clean Slices: If you love a gooey mess, eat these warm! For clean slices, let the bars chill completely, preferably overnight, in the fridge.
- Peanut Butter Perfection: Melt the peanut butter slightly to make it easier to spread over the chocolate. Don't worry if it mixes with the marshmallow, that's just deliciousness happening.
- Marshmallow Alternatives: If you don't have marshmallow creme, you can use regular marshmallows! Some folks melt them with a bit of butter or corn syrup to get a similar consistency.
- Chocolate Type: While milk chocolate is classic, feel free to experiment with semi-sweet or dark chocolate. You can even use peanut butter cups!
The Perfect Summer Treat
These s'mores bars are perfect for any summer gathering, whether you are heading to a potluck or a cabin weekend. They are also great for a birthday celebration, or a treat for a friend who just had a baby. These bars are a welcome treat for any occasion.
So, are you ready to skip the mess of a campfire and dive into a pan of these incredible s'mores bars? I promise, they're every bit as magical as the real thing!